Walls and ceilings are constructed with drywall, a type of building material. Many design elements, such as eaves, arches, and other architectural specialties, are also made with it. It is extremely sturdy, quick, and simple to install, and it only needs minor repairs when it is damaged. In order to contain the spread of fire and allow occupants to escape safely in an emergency, drywall is additionally used to add fire resistance to walls and ceilings.
Although the primary goal of every home renovation and design is to ensure its occupants’ safety, you should also consider the aesthetic value of your building. While you want to be sure that significant factors like the high quality, durability, and appropriate drywall design are taken into account, it is also necessary to consider the aesthetic aspect. To make the drywall in your building aesthetically pleasing, you need to cover up drywall seams.
Are you interested in knowing why your drywall seams are visible and how to conceal them without mudding? You should keep reading as the methods to achieve this will be discussed below.
Why Are My Drywall Seams Showing in the Ceiling?
Settling house
Sometimes, when a house has experienced significant settling, drywall seams become noticeable. This problem is common with houses that have a very long lifespan. Old age can cause a house to wear off. This process can make a house shift unevenly, making the seams of the ceiling’s drywall more visible in some areas. When not attended to, the drywall seams can degenerate into cracks in the ceiling.
Drywall installation with mesh tape

Mesh tapes are not the most suitable adhesive solution for drywall. With mesh tape, the ceiling cracks are much more obvious because it is more flexible and less strong than paper tape. However, paper drywall tape is thought to be more durable and less likely to stretch, which is why it is recommended as a better option to prevent ceiling cracks.
Poorly installed drywall
The way your drywall was installed is most likely to blame. If your drywall seams are visible in the ceiling and have gotten worse over time, it’s possible that an error was made during its installation procedure. The failure to properly apply the settling compound layers to the seams or to simply sand them down for a smoother finish is one of the most common errors in the drywall installation process.
How to Cover Drywall Seams Without Mud?
Your drywall should, in some way, conceal an exposed joint. If not, your interior wall will have a gaping hole in it. This may make wiring, pipework, and thermal management susceptible to damage, which can be harmful to occupants of a building and the home’s integrity.
Using chair rails, molding, or quarter round to conceal drywall seams are a few alternatives to mudding drywall. Nevertheless, compared to the use of mud to wrap up your ceiling, these methods are typically more time and money-consuming.
Wooden planks have become an easy way to finish drywall joints rather than the use of drywall mud, though you will need to be innovative. To achieve this, you can try some of the following methods:
1. Quarter round style of molding
A molding design known as a quarter round does have a rounded face as well as two thin sides that can be integrated into a corner between walls. It is typically small and undetectable, measuring about 3/4 of an inch. Instead of adding a coat of mud to the corners where walls converge, you could use a quarter-round vertically positioned as baseboard or crown molding. This style of molding is big enough just to cover drywall joints without becoming intrusive. The quarter round is barely visible when coated with the exact color as the walls.
2. Employ crown molding technique

Where walls meet an already installed drywall ceiling, crown molding can be added. This process helps to conceal just about every empty space or seam where parts of your current drywall design joints meet. It is also a lovely feature in your home that adds to the aesthetic value of your indoor space. Crown molding, which is usually a sophisticated piece of trim, gives the ordinarily plain space between both the ceiling and the walls more depth and design.
3. Boards that have been installed should have their seams caulked
To create an airtight seal, caulk all of the boards and molding that you install. This will help excuse the fact that drywall that has not been closed off with paper drywall tape and mud will allow air and sound to enter. In order to retain the temperature of the building and make sure your home complies with building codes, it is essential to correctly encase fractures and seams in your house.
4. Build chair rail trims
The trim that prevents a wall from being harmed by a chair striking it when it is in use is known as chair rail trim. It can also be called a wall trim. A chair rail is mounted 32′′ to 36′′ up the wall to help prevent a chair from scratching a wall when it is moved quickly across the room. This is a decorative and protective piece of molding that is very prevalent in older homes but uncommon in homes built nowadays.
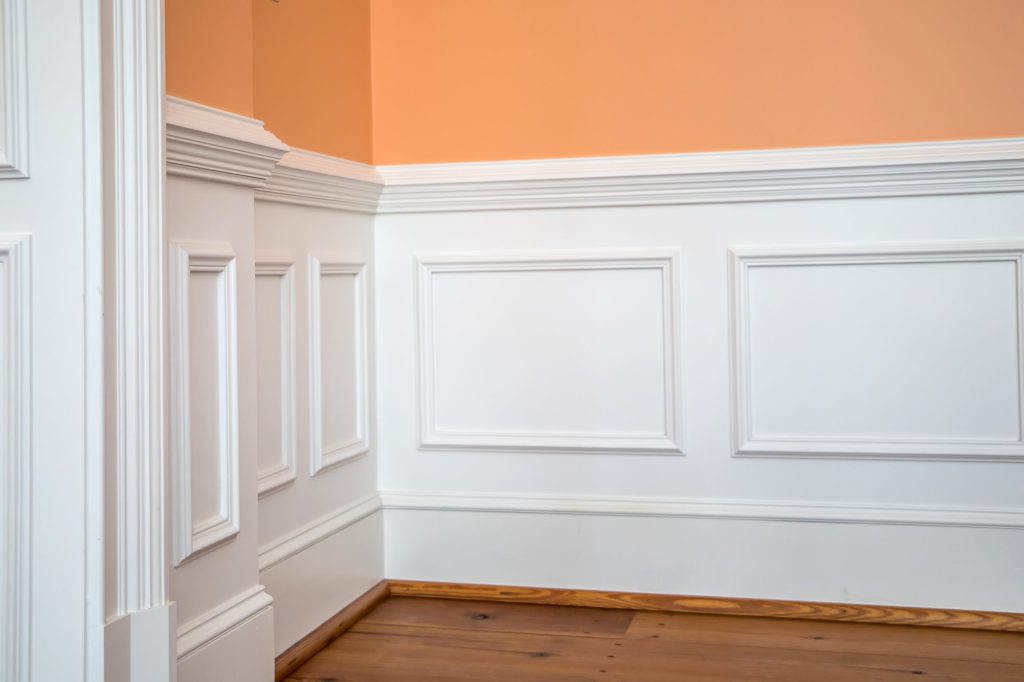
5. Adopt the wainscoting molding technique
Wood wall boards that beautify a portion of the wall are referred to as wainscoting. Wainscoting typically extends 32 to 36 inches up a wall, but more contemporary styles can reach 72 inches. Traditional wainscoting is most often a kind of panel that is bonded or hammered to the wall, whereas custom, pseudo wainscoting can be integrated onto a wall using any decorative coating that is cut and colored over to create a unique design.
In conclusion, after you have picked the best option for covering drywall seams without mudding for your indoor space, you should contact professionals who will help make your space look more appealing, upgraded, safe, and comfortable for your household.


