
Estimated reading time: 8 minutes
Some items in our garages, workshops, or tool sheds may not be glamorous, but they are essential. The grease gun is definitely one of them. This workhorse does an important job maintaining an array of automobiles, machines, and equipment by keeping them well-lubricated to operate smoothly. But have you ever wondered where to store your grease gun when it’s not in action? If that’s a question you’ve asked yourself, you’re at the right place.
Table of contents
About Grease and Grease Guns
Before we get into how to store a grease gun properly, it’s important to understand the basics of grease and grease guns. Grease and grease guns are the unsung heroes in your garage, workshop, or kitchen. Believe it or not, using the right type of grease and properly maintaining it can vastly extend the lifespan of your tools and machines.
Read more:
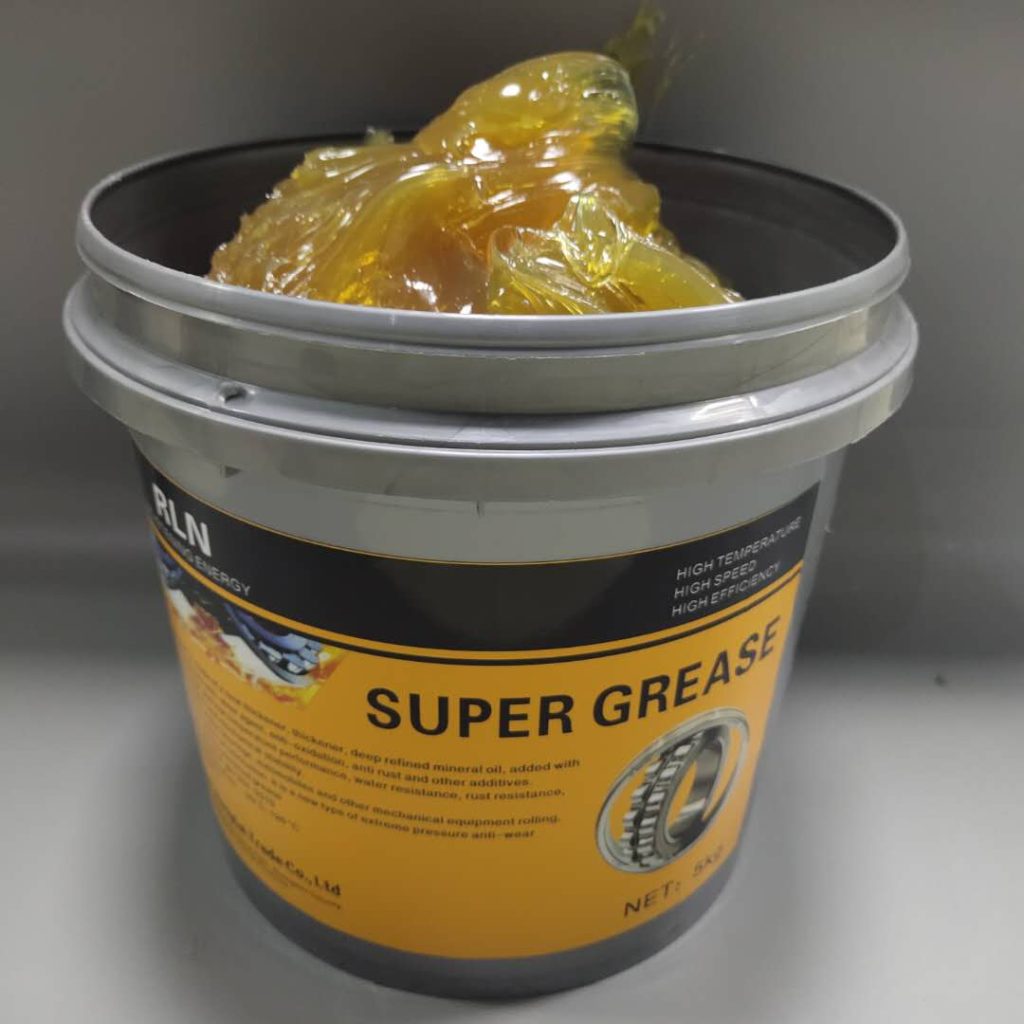
What Type of Grease is Appropriate?
Using the wrong grease can lead to ineffective lubrication, harming your machinery. So how can you choose the right one?
Grease is just like a recipe! Each type is made with different ingredients to achieve a specific performance or attribute. The key ingredients are the base oil and thickener. Additives are included for enhanced properties like improved wear resistance, increased pressure handling, or reduced oxidation.
There are several types of grease, but the three most commonly used are lithium, calcium, and sodium-based.
- Lithium grease is the most popular used in various applications because of its all-purpose qualities.
- Calcium grease is water-resistant and suitable for wet conditions.
- In contrast, sodium-based grease resists heat better than the other types.
Keep in mind the type of grease that is best for you depends on your specific needs. Yes, it might be overwhelming, so always refer to your machinery manual. Manufacturers often specify the type of grease best for their specific tool, assuring the device’s optimal performance and life span.
Degradation of Grease Over Time
One vital factor that is often overlooked is the fact that grease does degrade over time. The degradation process can reduce the effectiveness of your grease, leading to reduced lubrication and, therefore, reduced tool life.
Several things can degrade grease. Exposure to high temps can cause the grease to thin out, while exposure to cold temperatures can make it too thick to be effective. Also, water contamination can lead to emulsification – when water and grease mix, forming a milky, less effective emulsion.
Moisture, dirt, dust, and air can also degrade grease. Even without these factors, grease can still degrade over time due to a process known as oil separation, where the oil and the thickener separate.
Proper storage is the key to preventing, or at least slowing down, these processes. We’ll cover some storage best practices in the next section. But the underlying golden rule is “keep your grease clean, cool, and covered”.
Longevity and Effectiveness of the Grease Gun
Grease guns are much like teenage boys – if you don’t take care of them, they get greasy! Their performance significantly diminishes, and no, a shower won’t help.
Just as you wouldn’t throw a good wrench into a bucket of water and put it away, you should pay attention to properly storing your grease gun. Ignoring the proper storage of your grease gun can expose the tool to air, water, dirt, and dust. These elements cause the grease inside the gun to dry out, potentially blocking the dispensing mechanism and rendering it less effective or useless over time.

Moreover, external exposure to harsh conditions can cause the gun to corrode prematurely, depreciating its value and shortening its service life. So, remember, don’t be a “hose-and-go” individual with your grease gun. Have some respect! Store it properly. Protect its reputation, and it will serve you well.
In the next section, we’ll key into storing your grease gun – presumably, it’s not hiding it in an old shoebox under the bed. Stay tuned!
How to Store a Grease Gun
1. Choose the Right Storage Location
Choosing the right place to store your grease gun is easier than it may seem. Once you have your grease gun nicely cleaned, the next critical step is selecting the appropriate location to store it. Let’s simplify things and consider some key points while deciding where to store your tool.
1. Cool and Dry: Like many important tools, grease guns must be stored in a cool, dry area away from direct sunlight and heat sources. Excessive heat could cause the grease to separate and leak, while moisture can lead to corrosion or rust on the metallic parts of your gun.
2. Avoid Dust & Debris: Places that are heavily dusty or have a lot of debris are a no-no for storing your grease gun. Dust and debris could get into your gun and mix with the grease, leading to blockages and reducing the effectiveness of your tool. Therefore, your storage location should be clean and relatively dust-free.
3. Easy Accessibility: While safety and preservation are crucial, your grease gun must be readily available when required. Ensure that your storage location is one you can access easily. For instance, storing your gun at the back of your overhead shelf might not be the best idea!
4. Enough Space: Last but not least, check that your storage spot offers enough space. A grease gun should be stored so that no undue pressure is placed on the grease cartridge or the lever. It is ideal to keep it in a drawer or a box where it can lay flat, without anything heavy stacked on top of it.
2. Depressurize the Gun
Let’s dive into the nitty-gritty of getting your grease gun ready for some hibernation. Trust me; it’s way easier than it sounds.
The first thing you must handle when storing a grease gun is depressurizing it. This process is like letting the air out of a balloon, helping prevent any potential “gun jams” when you’re ready to use it again. A high pressure can also cause accidental grease discharge. Here’s how we do it:
- Pop open the gun’s canister: Usually, there’s a lever or a button that you can press or lift. Doing this allows any accumulated air to escape, reducing the internal pressure.
- Disengage the rod handle: Pull it back until it’s completely free. This action removes any pressure on the grease inside. Then, lock the handle in the open position. It’s a super simple yet necessary step to make the gun ready for storage.
3. Mount the Grease Gun
Mounting your grease gun involves securing it so it doesn’t move around or accidentally discharge grease. You can use hooks, brackets, or a specific grease gun holder for this purpose. Most people find it best to store the grease gun in a cool, dry place, such as a toolbox, a shelf in the garage, or a specific cabinet dedicated to tool storage.
First clean the gun. Before storing, clean your grease gun. Cleaning helps prevent any grease leaks if the gun has residual grease.
Now use a sturdy hook, bracket, or grease gun holder to mount the grease gun. Ensure it is placed horizontally.
4. Apply the Cap
Applying a cap to the nozzle is an added protection, acting like a shield to keep potential contaminants out. Caps often come with a grease gun and prevent grease leakage. If you don’t have a cap, you can cover the nozzle with a small plastic bag and secure it with a rubber band or a tie wrap.
The Right Way to Handle and Use Grease Guns
Mastering the art of handling and using grease guns proficiently is crucial to ensuring their longevity. Not only is it important to store your grease gun properly, but it’s also key to utilize it correctly to ensure tidy and clean usage and to avoid over-greasing. Let’s delve into some strategies and instructions.
Ensure Tidy and Clean Usage
- Wipe Before Use: Always clean the grease gun’s tip before using it. Doing this will maintain cleanliness and prevent dust or dirt from entering the machine. Use a clean, dry rag for this process.
- Cleanup After Use: Once you’re done greasing, don’t just stash away the gun. Clean the grease gun meticulously. Remove excess grease and wipe off the dispensing head to prohibit any residual grease from hardening.
- Use a Drip Tray: Here’s a pro tip – place a drip tray or a piece of scrap cardboard under the area where you’re working. It helps catch any grease drips and keeps your workspace clean.
- Seal Properly: Ensure the grease gun’s lid or cap is properly sealed after use. The cap prevents leakage and keeps your storage area grease-free.
Avoid Over-Greasing
Over-greasing can lead to as many mechanical problems as under-greasing. It can cause seal leakage and high operating temperatures. Here are some tips on how to avoid over-greasing:
- Know Your Equipment: Understanding the grease requirements of your equipment is fundamental. Check the machine’s manual to understand how much grease is needed and stick to the recommended quantity.
- Use the Right Grease: Not every grease gun works well with all types of grease. Before purchasing, it’s wise to read the product description to ensure compatibility. The wrong grease type can lead to over-greasing.
- Maintain A Regular Schedule: Regular maintenance is crucial. Grease your machines routinely, but avoid excessive greasing. Create a consistent and controlled greasing schedule.
- Slow and Steady: When applying grease, slow and steady wins the race. Too much grease applied quickly can cause pressure buildup, damaging seals.


