
As a homeowner, you know how important it is to keep your carpets and upholstery clean. Whether it’s from kids, pets, or just everyday wear and tear, these surfaces can quickly become dirty and stained. That’s where the Rug Doctor comes in. This powerful machine allows you to deep clean your carpets and upholstery, leaving them looking and smelling fresh.
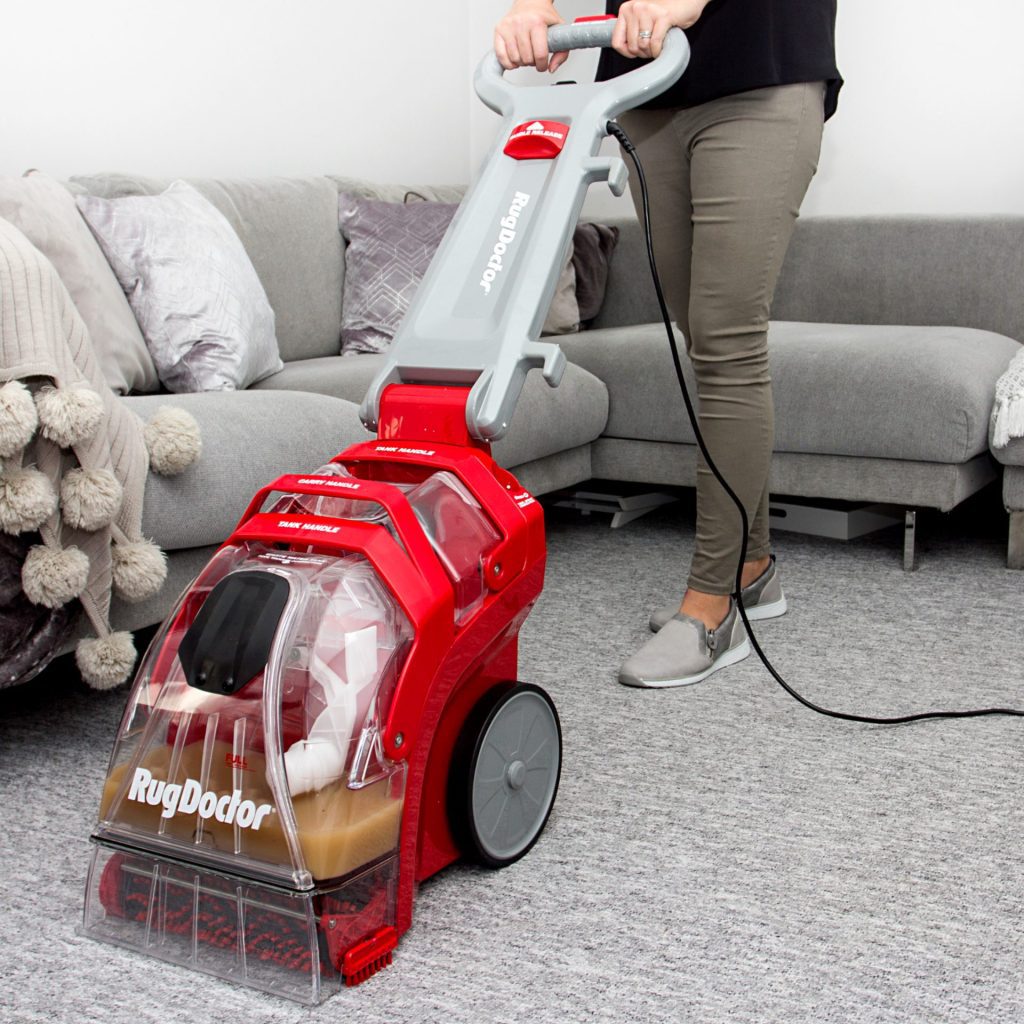
But as with any cleaning device, it’s important to know how to properly maintain and clean your Rug Doctor. One of the most important steps in this process is emptying the machine after each use. This not only ensures that your machine is ready to go for the next cleaning job, but it also helps to prevent any build-up of dirt and grime inside the machine.
That’s why we’ve put together this article, to guide you through the process of cleaning and emptying your Rug Doctor. From preparing the machine to cleaning it after use, we’ll cover everything you need to know to keep your Rug Doctor in top working order. So let’s get started!
Preparing to Empty the Rug Doctor
Before you start emptying your Rug Doctor, it’s important to make sure that the machine is switched off and allowed to cool. This will ensure that you don’t accidentally burn yourself or damage the machine in any way.
To begin, locate the power switch on your Rug Doctor and turn it off. Wait for a few minutes for the machine to cool down before proceeding.
Next, you’ll need to remove the recovery tank. The recovery tank is where the dirty water is collected during the cleaning process.

To remove the recovery tank, you should just pull down on the wire retainer and flip up the dome cover. This will release the tank, allowing you to lift it up and out of the machine. Be sure to hold the tank securely, as it may contain heavy and dirty water.
Now you’re ready to empty your Rug Doctor and give it a thorough cleaning.
Emptying the Recovery Tank
The recovery tank is the part of the Rug Doctor that collects the dirty water that is extracted from your carpets during the cleaning process. It is important to empty the tank regularly to prevent it from becoming too full and affecting the cleaning performance of the machine.
Steps to empty the recovery tank
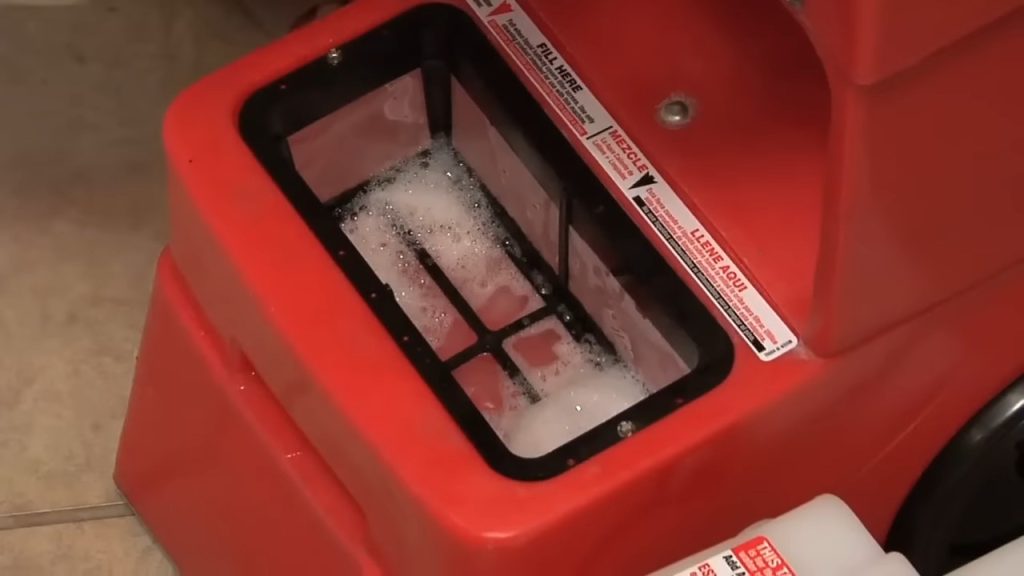
1. Locate the fill line
The fill line on the recovery tank indicates the maximum level of dirty water that the tank can hold. It is important to not let the dirty water exceed this line, as it could cause the machine to malfunction.
TIP
2. Pour out the dirty water
To empty the recovery tank, first switch off the machine and unplug it. Then, remove the recovery tank from the machine and locate the fill line. Carefully pour out the dirty water into a sink or drain.
3. Rinse the tank
After pouring out the dirty water, rinse the recovery tank with clean water to remove any remaining debris or dirt. Make sure to rinse it thoroughly to avoid any build-up that could affect the performance of the machine.
TIP
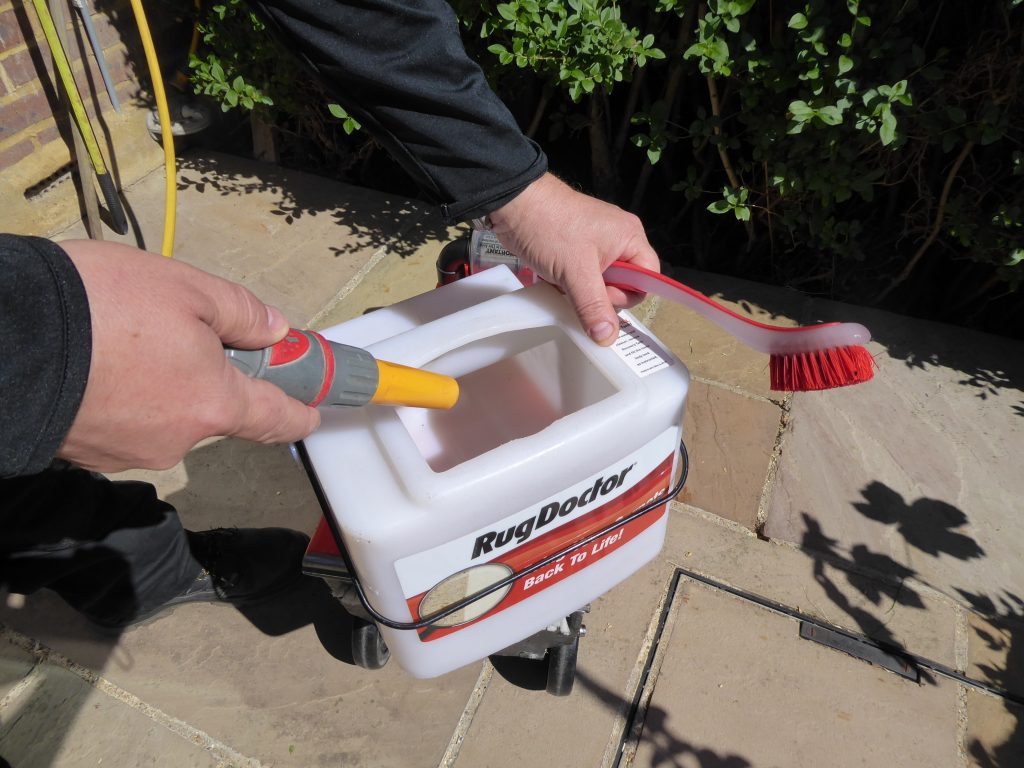
Emptying the Solution Tank
The solution tank is the part of the Rug Doctor that holds the cleaning solution. It is located beneath the handle of the machine and is easily accessible.
Steps to Empty the Solution Tank
When it comes time to empty the solution tank, follow these simple steps:
1. Locate the cap
Look for the cap on top of the solution tank. It is typically a screw-on cap that is easy to identify.
2. Unscrew the cap
Use your hands to unscrew the cap from the top of the solution tank. Be careful not to tip the machine over or spill any solution.
3. Pour out the remaining solution
Once the cap is removed, carefully pour the remaining solution into a sink or drain. Be sure to dispose of the solution in accordance with local regulations.
TIP
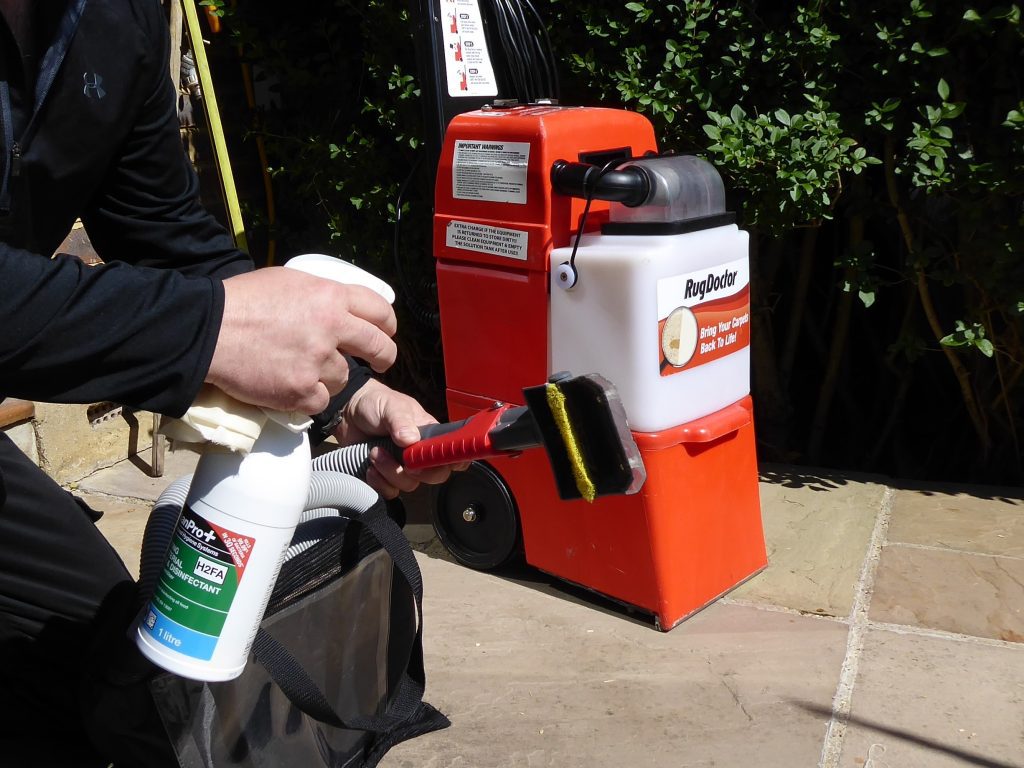
Cleaning the Rug Doctor
Cleaning your Rug Doctor after use is an essential step in maintaining its longevity and functionality. A well-maintained Rug Doctor will not only perform better, but it will also save you money in the long run. The cleaning process is simple and straightforward, and it does not take much time to accomplish.
Steps to clean the Rug Doctor
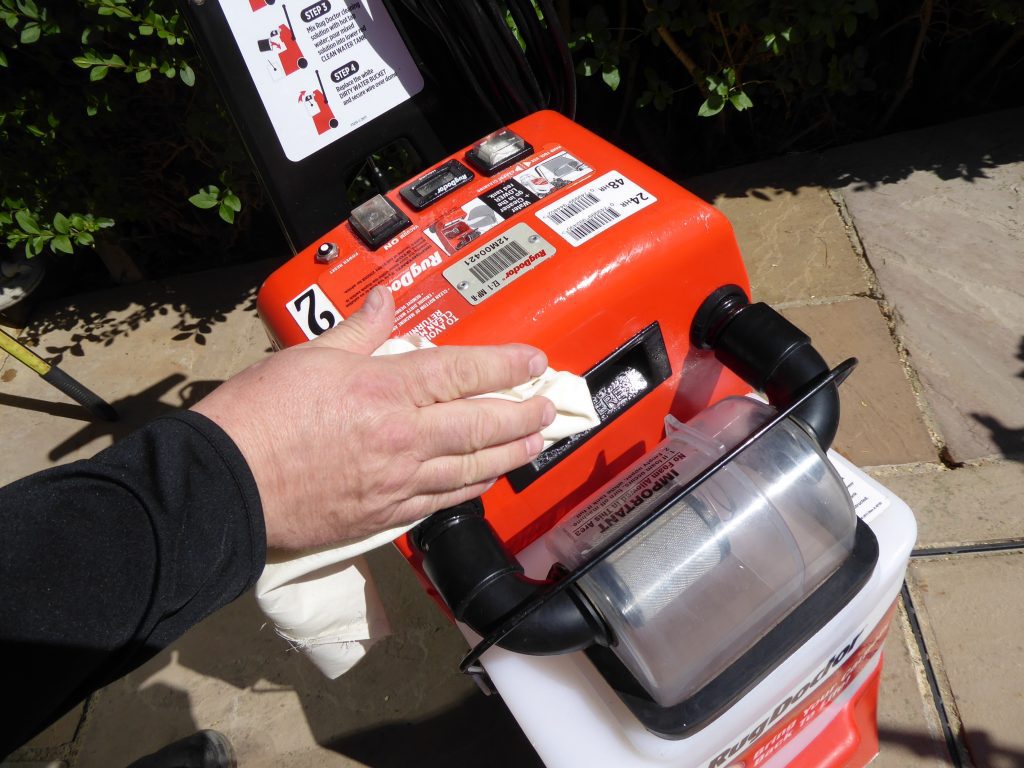
1. Wipe the machine with a damp cloth
After emptying the recovery and solution tanks, it is time to wipe down the machine’s exterior with a damp cloth. This step is important as it removes any dirt or debris that may have accumulated on the machine’s surface during use. Additionally, it ensures that the machine remains clean and presentable.
TIP
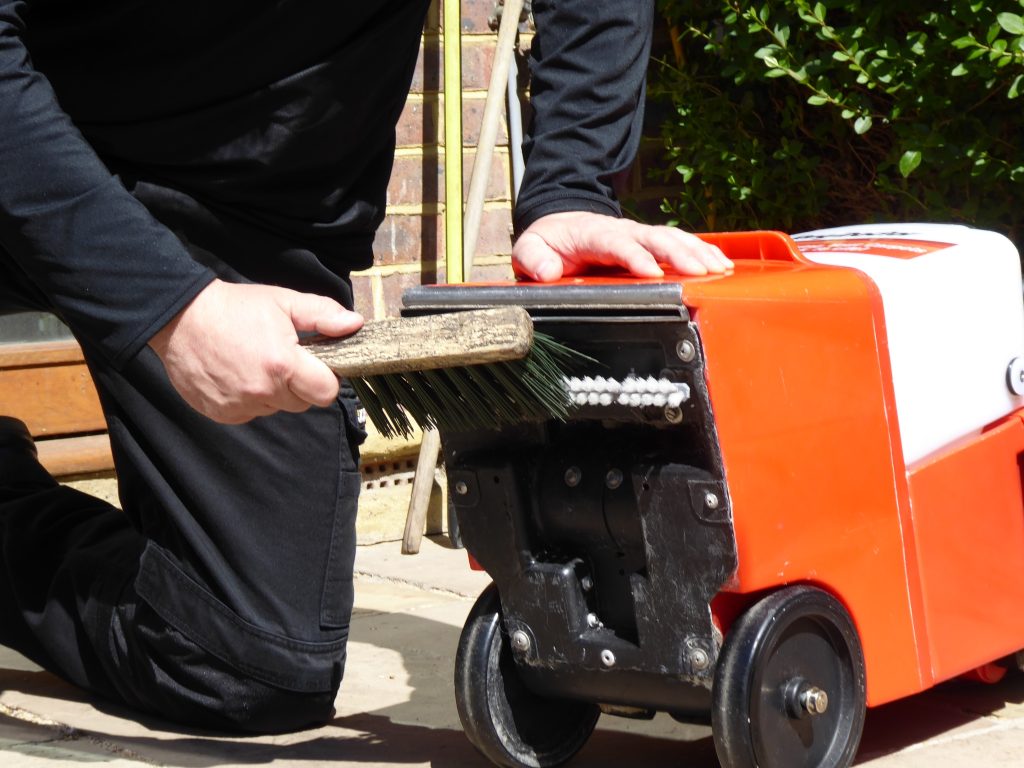
2. Clean the brushes
The next step is to clean the brushes. The brushes are the central cleaning component of the Rug Doctor, and they need to be cleaned after every use to ensure that they remain effective. To clean the brushes, you can use a brush cleaning solution or a mixture of warm water and dish soap. Dip a soft-bristled brush into the solution and gently scrub the brushes. Rinse the brushes with clean water and allow them to dry before reattaching them to the machine.
3. Clean the nozzle
The nozzle is another essential component of the Rug Doctor that requires regular cleaning. The nozzle is responsible for spraying the cleaning solution onto the carpet, and it can become clogged with dirt and debris over time. To clean the nozzle, you can use a small brush or a toothbrush to remove any dirt or debris. Rinse the nozzle with clean water and allow it to dry before reattaching it to the machine.
TIP
Final Thoughts
Emptying your Rug Doctor is a simple process that can be done in a few easy steps. To recap, start by switching off the machine and allowing it to cool down. Next, remove the recovery and solution tanks and empty them separately. Remember to clean both tanks thoroughly and avoid spilling any dirty water or solution.
Maintaining a clean Rug Doctor is important for several reasons. It ensures that your machine is working at its optimal performance, which means you can achieve the best results when cleaning your carpets. A clean machine prevents any bacteria or mold from growing inside the tanks, which can be harmful to your health. By following the steps outlined in this article, you can keep your Rug Doctor in tip-top condition and enjoy a cleaner, healthier home.


